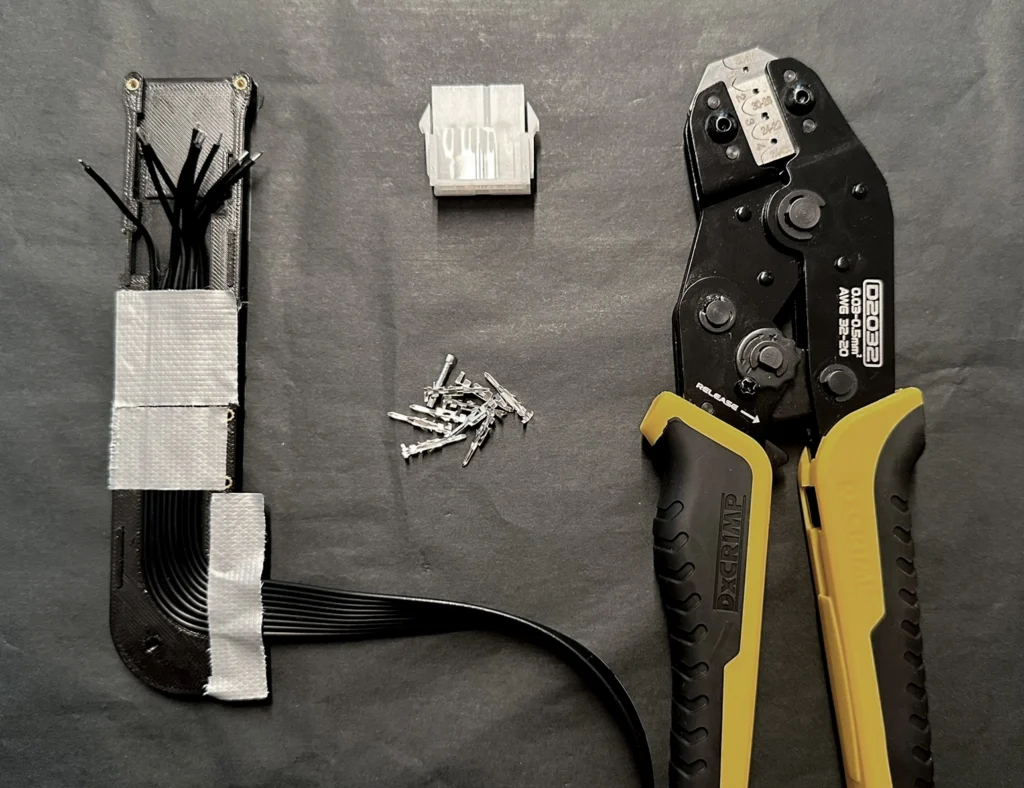
Parts #
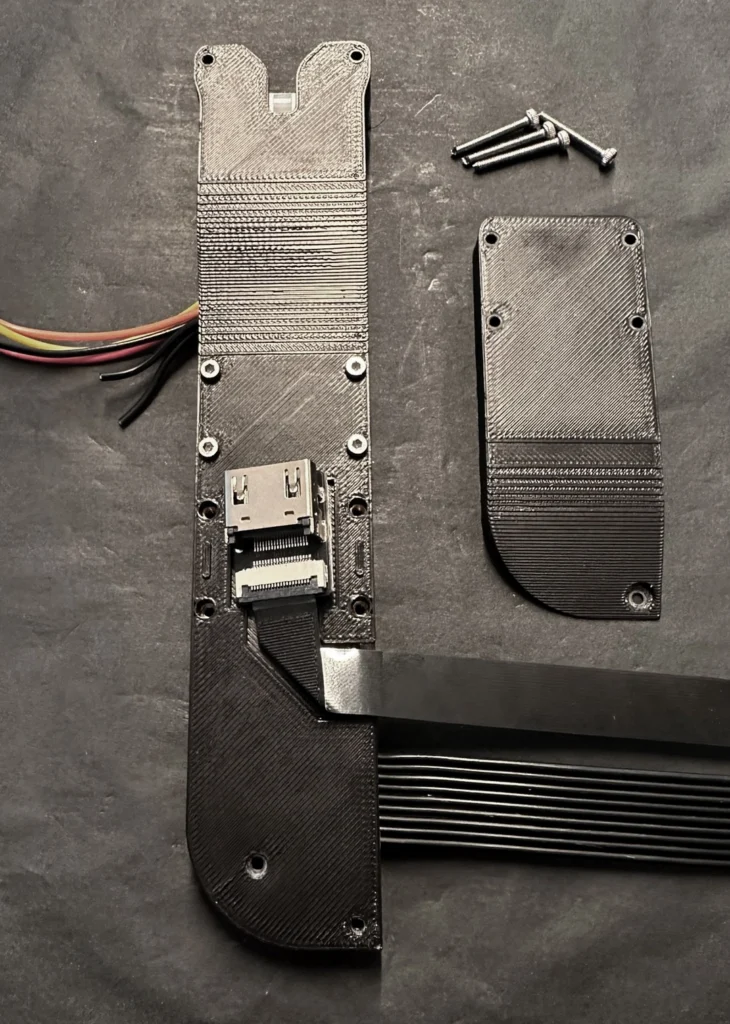
The first step is to assemble the connector. Below you can see the parts needed. This assembly will hold the 10-pin Molex connector and route the cables to the screen.

Assembly #
Cable Routing #
Start by taking the flat ribbon cable and put it in the channel as shown below. Make sure to not detach the cables that lead to the display. On the connector side, leave enough length to crimp the cables and put them in the Molex connector later on.
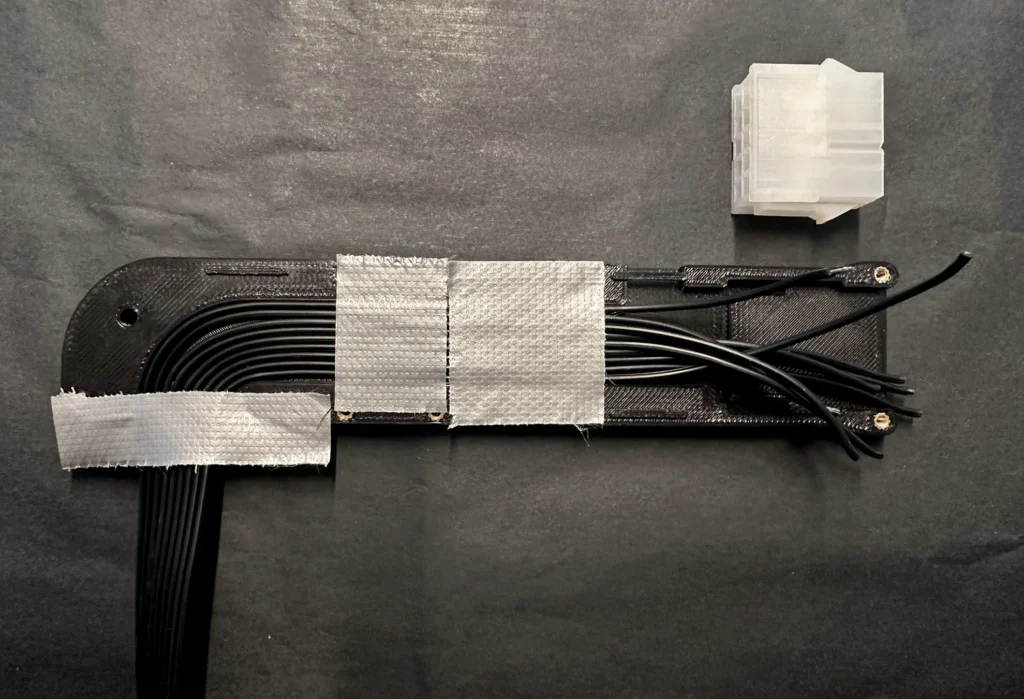
I used some tape to keep the cable in the channel and make life a bit easier.
Crimping #
Use a Molex crimping tool to prepare the cables for the connector.
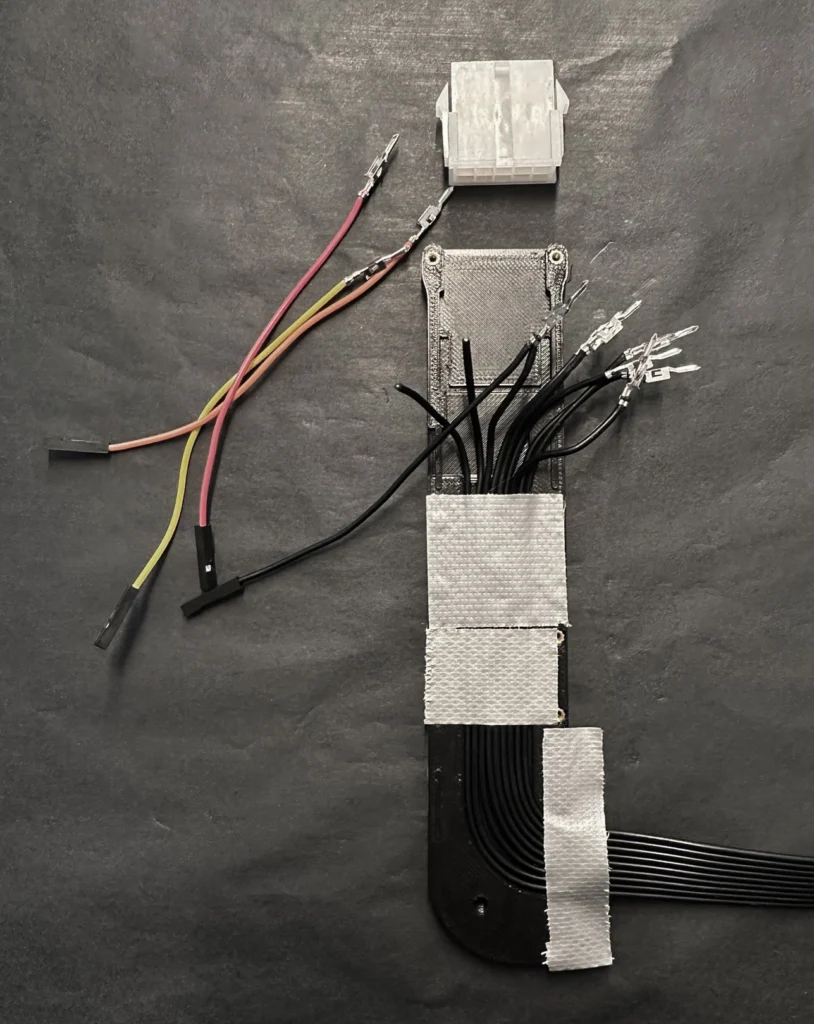
As you can see, the three DuPont wires lead out of the connector. There are also two wires leading from the display out of the connector assembly. This is intentional and eventually enables future updates. You can also leave them away though.
The order in which you place the pins in the connector does not matter but you need to write them down to make sure every signal or voltage is going to the correct place when you connect everything with the LCD and make your male Molex connector.
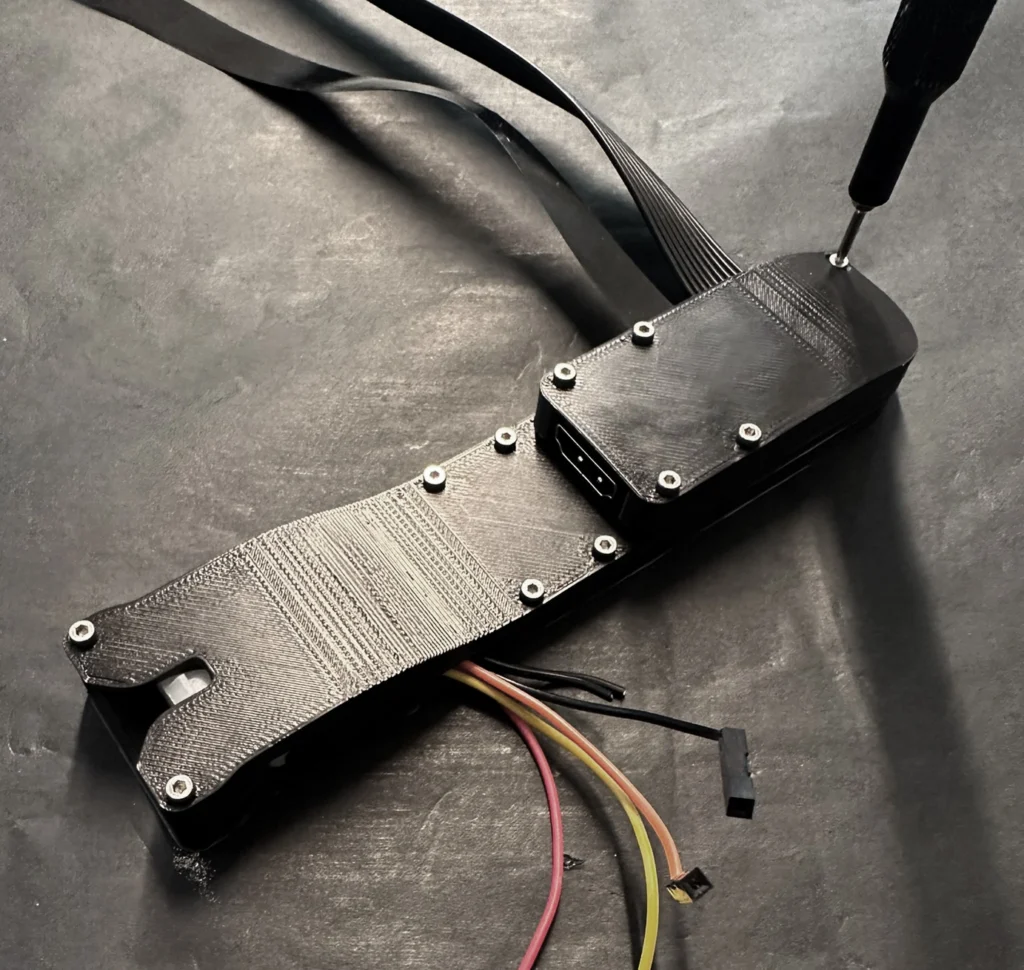
HDMI Input #
The next step is putting the lid on top of the baseplate and install the female HDMI connector.
Bending the ribbon cable is fine, as long as you don’t bend it back and forth. After you mounted the last part into place the assembly for the connector is done.