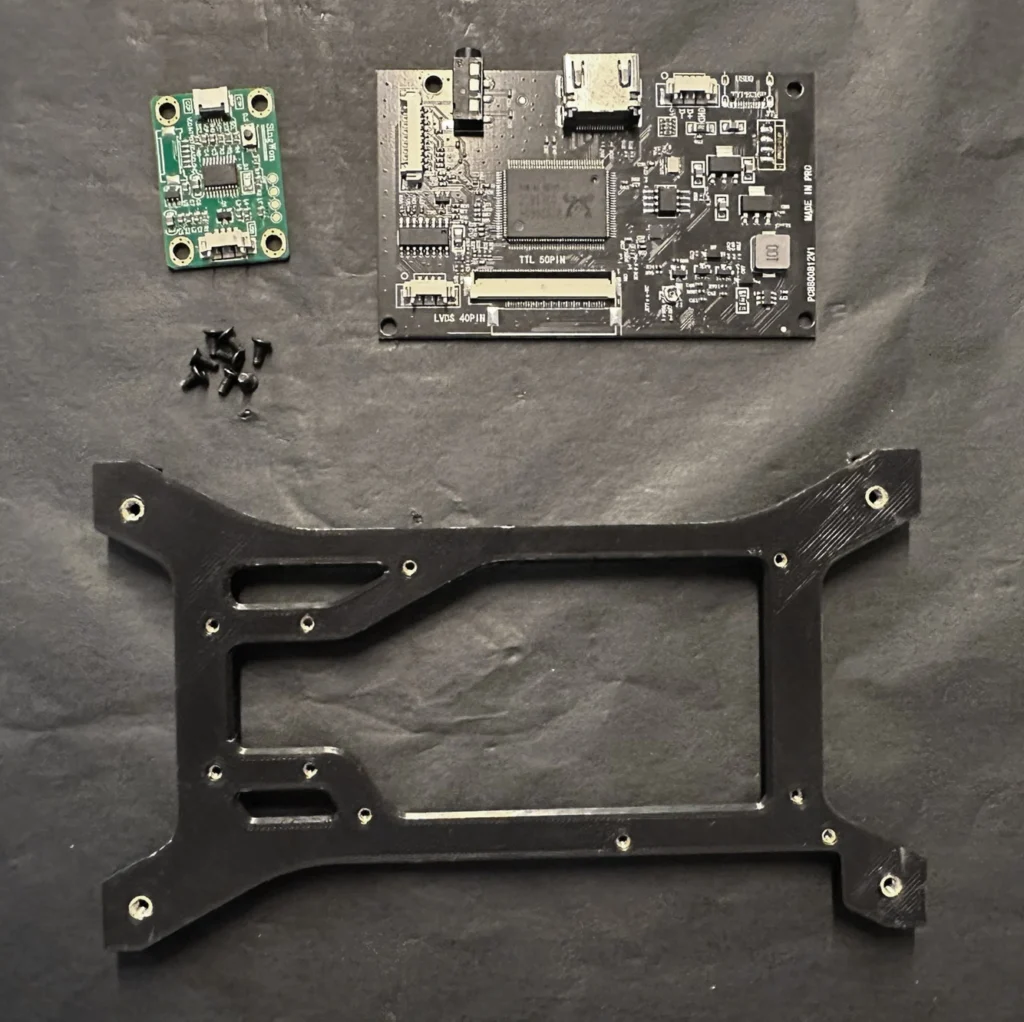
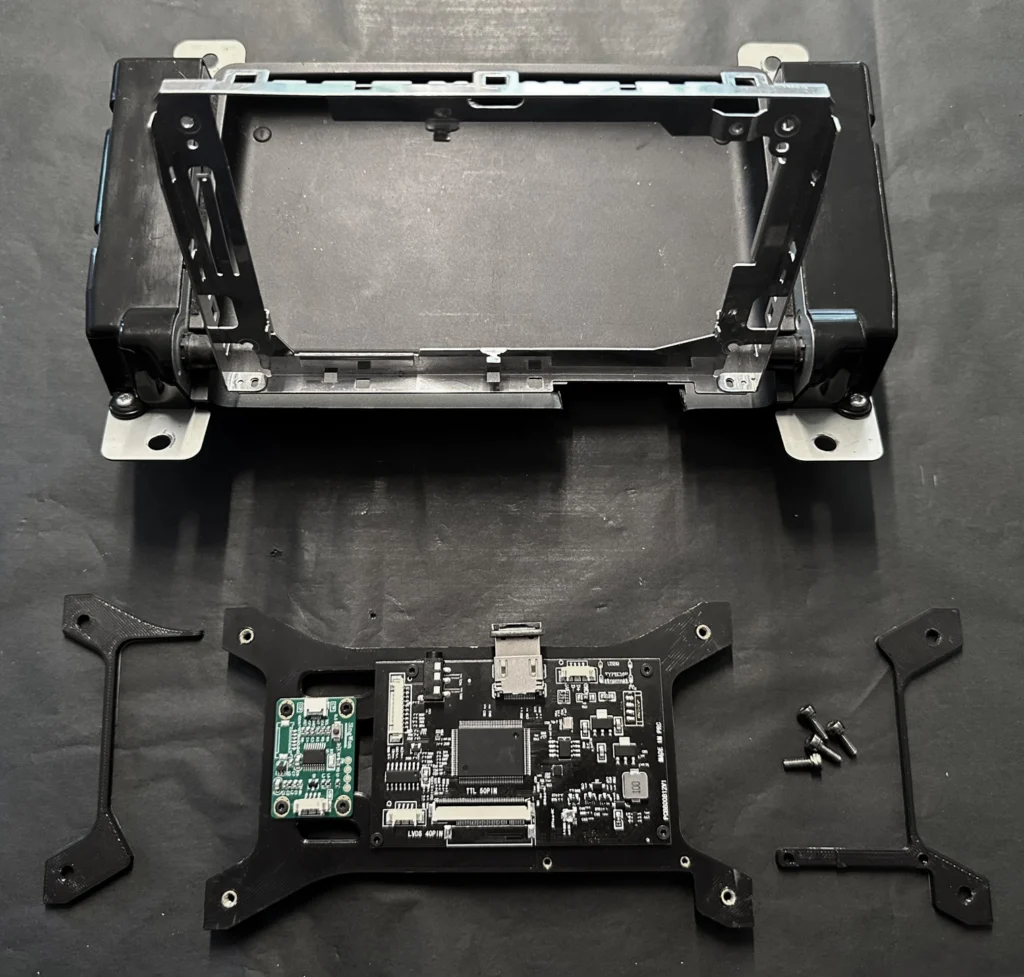
Parts #
Assembling the screen unit is quiet straight forward. Below you can see the necessary parts.
It is possible that your LCD driver is different than the one on the picture. In that case please get in touch so we can make a variant of the frame.
Assembly #
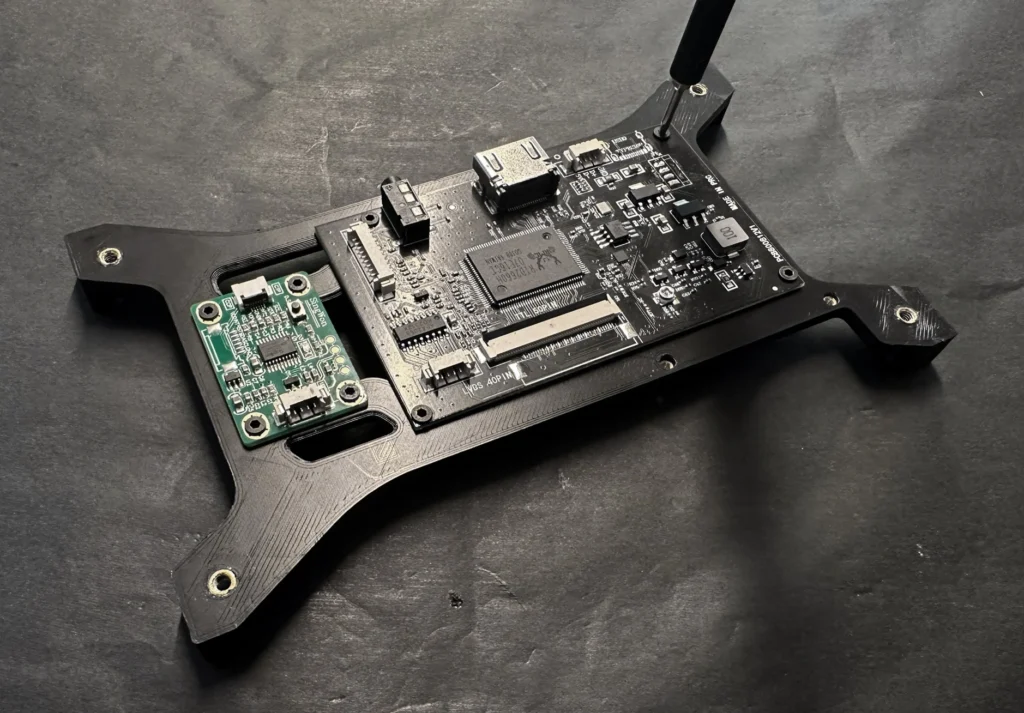
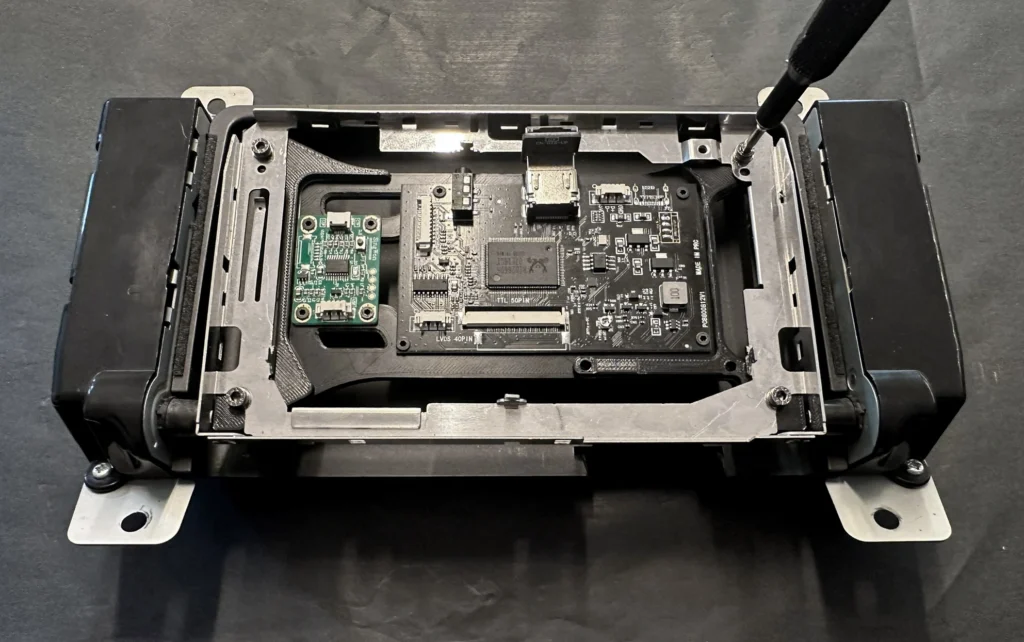
Mounting the PCBs #
Start by mounting the LCD Driver and the Touch driver to the frame.
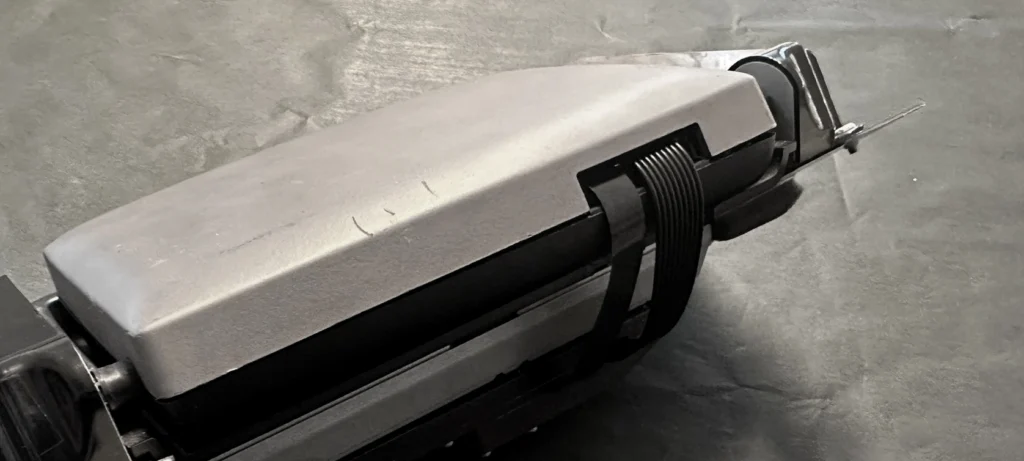
In the next step you take this assembly and the two additional parts to mount this to the frame of the RTI unit.
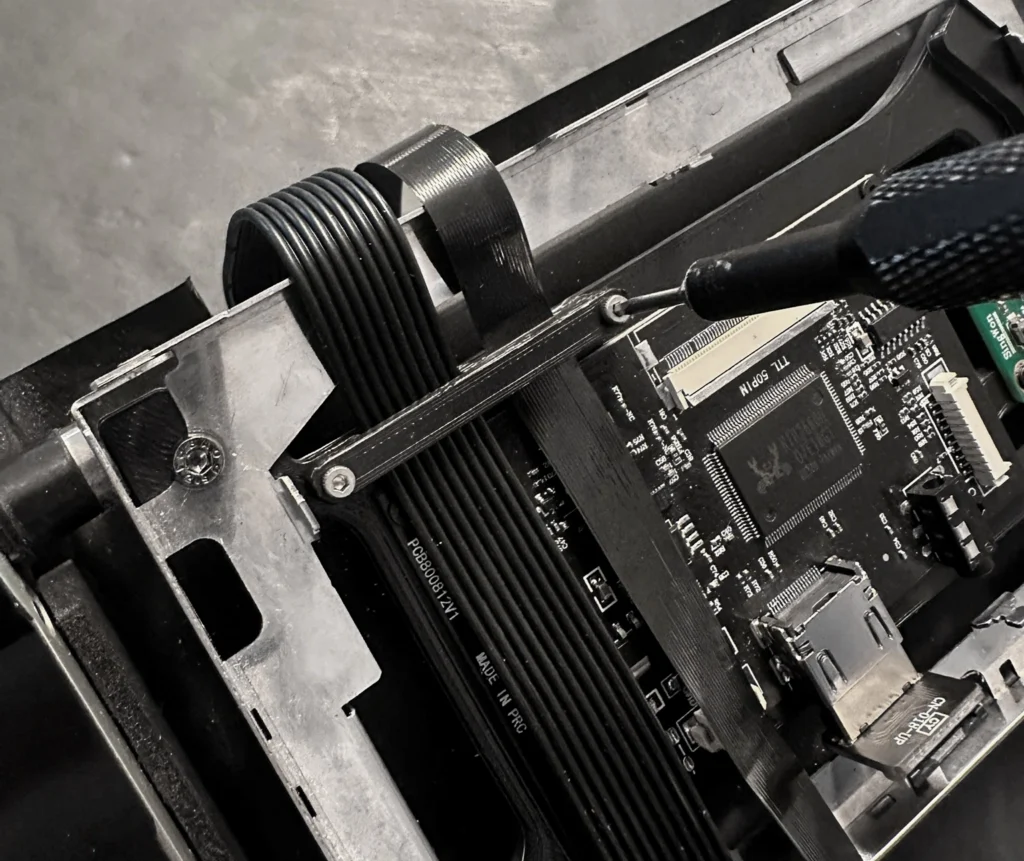
Cable Routing #
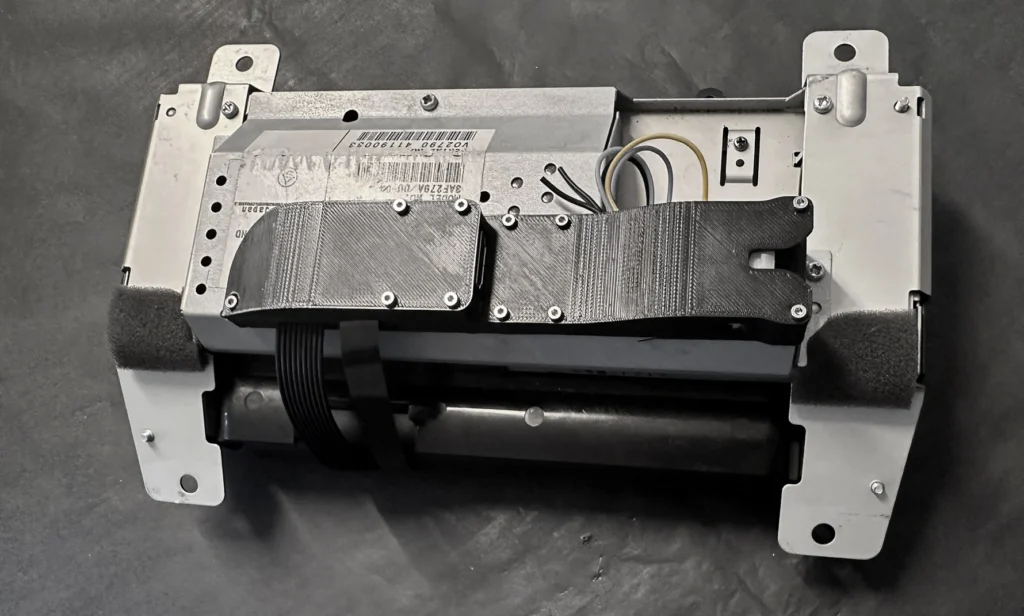
Use the small bracket to secure the two flat ribbon cables to the frame.
Final Assembly #
In the last step you need to connect everything with each other. It is crucial that at this point you take notes, which cable is going where, and where it is connected to the Molex connector on the bottom of the RTI. In the image below you can see how it will look like in the end.
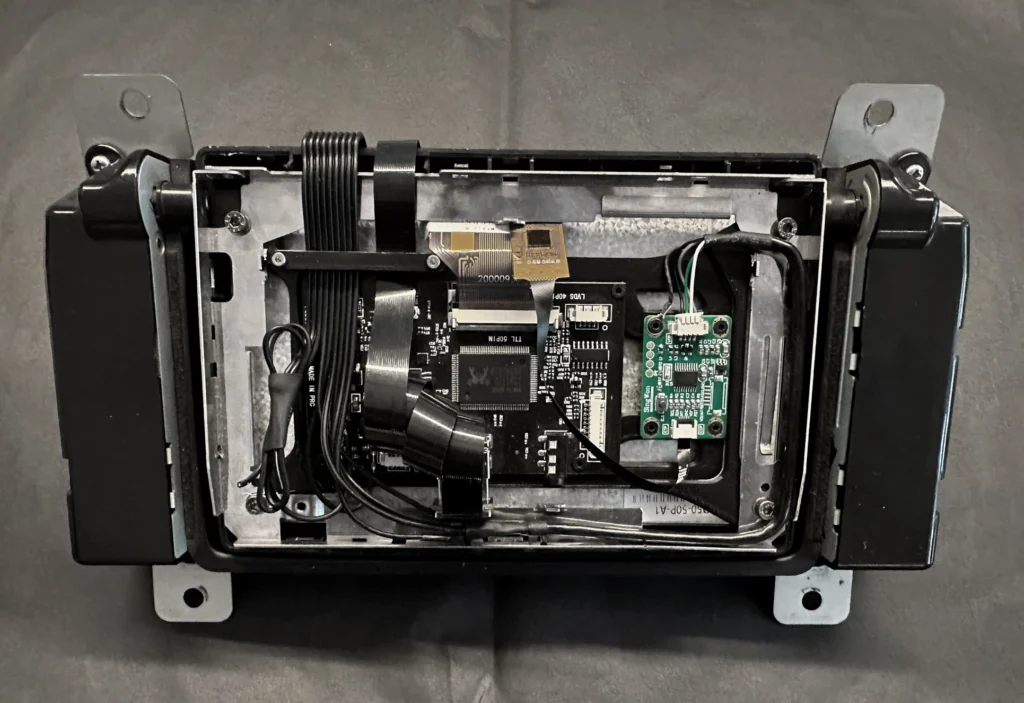
You will need to connect power to the LCD Driver, the USB cable to the touch controller and of course the HDMI cable. On the left side you can also see the two wires I left as a backup.
After you are done it should look like below. On the bottom you have the 10-pin Molex Mini Fit Jr. connector, that bring power and the USB signals to the driver as well as the femal HDMI port to bring the video to the display. The flat ribbon cables route nicely into the screen.